Non-destructive testing (NDT) in structural steelwork: ensuring weld integrity and quality
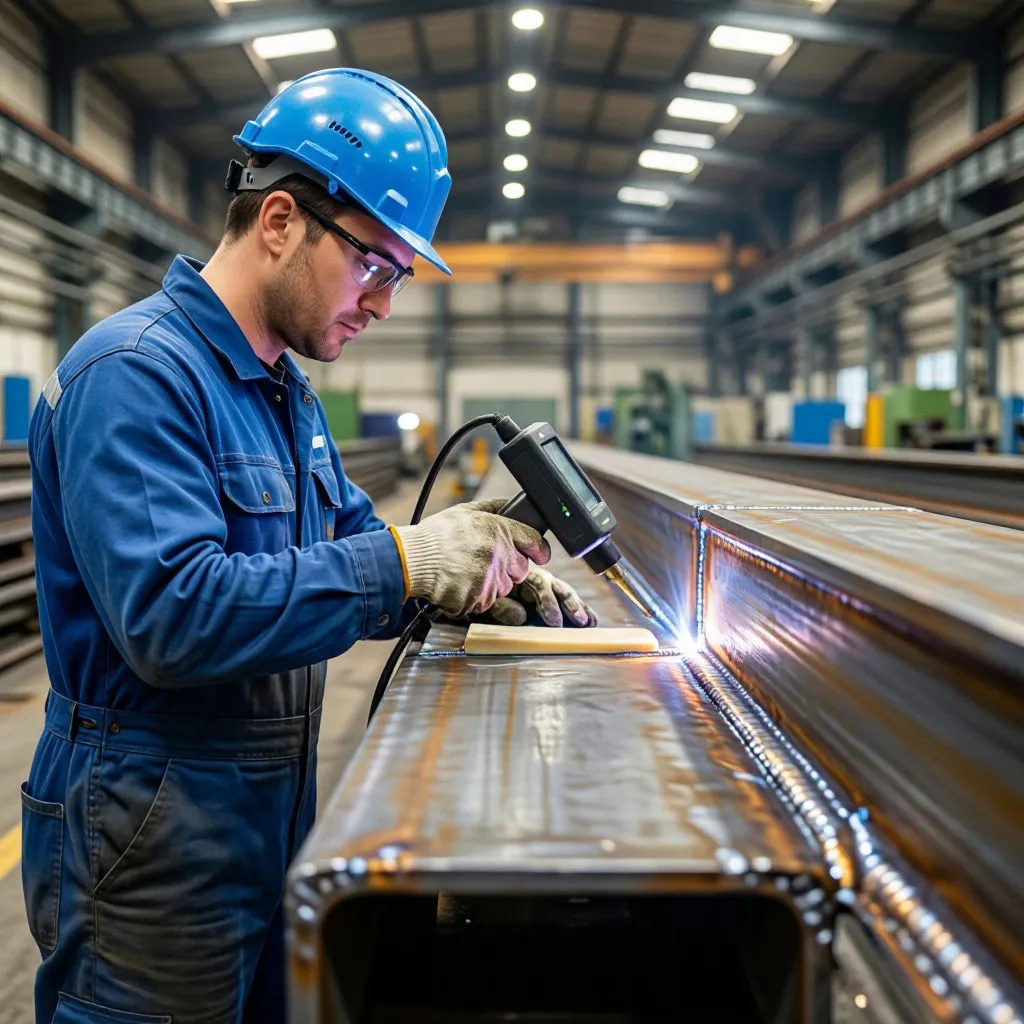
The massive steel skeletons that define our modern cities—spanning wide rivers as highway bridges or reaching high into the clouds as office towers—rely entirely on the integrity of their connections. Every beam, column, and truss must transfer tremendous structural forces safely down to the foundation. When thousands of tonnes of static and dynamic loads press down on these joints, the quality of the welds holding them together becomes the difference between structural resilience and catastrophic failure. Because visual inspection alone cannot reveal what lies deep within a solidified weld pool, specialized diagnostic techniques are required to verify the inner structural health of these critical nodes without damaging the steel itself.
The critical role of weld integrity in load-bearing structures
Under current building safety regulations, structural steelwork fabricated for use in the British market must meet the demanding criteria of the BS EN 1090 standard. This standard categorizes structures into four execution classes based on the severity of the consequences should a collapse occur, ranging from agricultural barns to massive stadium roofs. As the execution class level increases, the requirements for weld quality control UK protocols become significantly stricter, mandating higher percentages of non-destructive testing across all structural joints. Adhering to these structural guidelines ensures that fabricated steel components can resist fatigue, seismic activity, and heavy environmental loads over their intended lifespan.
Deciphering the main non-destructive testing methods
Selecting the most effective diagnostic tool requires matching the specific geometry of the joint with the capabilities of the testing equipment. While some techniques excel at finding microscopic surface cracks that could propagate under cyclic loading, others are designed to peer deep into the weld metal to locate internal pockets of trapped slag or lack of fusion. Engineers must coordinate these different non-destructive testing methods construction workflows to ensure that both the outer surface and the inner core of each critical weld are completely free of structurally compromising defects.
To help Quality Assurance (QA) managers design a cost-effective and compliant testing schedule during NDT steel fabrication, we have summarized the primary diagnostic techniques used in modern workshops. This breakdown compares their target areas, defect-detection capabilities, and overall on-site practicality:
| NDT method | Primary detection zone | Key defects identified | Practical on-site suitability |
|---|---|---|---|
| Magnetic particle testing | Surface and near-surface | Fine surface cracks, tear lines, and seams | High: quick setup and immediate visual results |
| Ultrasonic testing | Deep volumetric core | Internal voids, lack of root fusion, and slag inclusion | High: portable digital equipment with no radiation risk |
| Radiographic testing | Deep volumetric core | Porosity, density variations, and deep crack networks | Low: requires strict exclusion zones due to radiation |
| Liquid penetrant testing | Absolute surface boundary | Pinholes, surface porosity, and tiny surface fissures | High: simple dye sprays requiring no electric power |
Using this comparative matrix allows fabrication teams to plan their quality checks strategically, applying rapid surface tests on less critical joints while reserving high-precision deep-core evaluations for major load-bearing columns. This balanced approach ensures that no defect goes unnoticed while maintaining a smooth and efficient production schedule. Among these volumetric evaluation techniques, high-frequency sound wave diagnostic technology represents the most flexible and widely adopted choice in modern construction.
Why volumetric and surface examinations must work in tandem
A complete quality assurance program must address both internal and external weld defects, as different manufacturing errors yield different structural risks. Surface cracks, often caused by rapid cooling or hydrogen embrittlement, can act as severe stress-concentration points that lead to sudden fatigue failure. Volumetric defects, such as lack of side-wall fusion or deep internal gas pockets, directly reduce the effective load-bearing area of the weld, compromising its overall structural strength. To ensure a thorough examination, inspectors utilize specialized tools to detect internal anomalies.
When executing ultrasonic testing structural steel procedures, technicians use portable digital instruments to send high-frequency sound waves through the metal and interpret the returning signals. This process relies on a precise sequence of technical steps to locate and size internal defects accurately:
- couplant application: a specialized gel is spread over the steel surface to ensure the sound waves transfer efficiently into the metal;
- transducer calibration: calibrating the probe against a reference steel block of known thickness to ensure measurement accuracy;
- probe sweep: sliding the transducer back and forth across the weld zone at specific angles to capture different reflection planes;
- waveform analysis: interpreting the digital echoes on the screen to identify the depth, length, and severity of any internal reflections;
- defect mapping: plotting the exact coordinates of any unacceptable indications to guide the grinding and repair team.
This methodical procedure allows inspectors to build a precise physical map of the weld interior, ensuring that any sub-surface flaws are identified and repaired before the steelwork leaves the fabrication yard. By catching these hidden defects early, companies can avoid the astronomical costs of performing structural repairs once the steel has been erected on an active construction site.
Establishing a compliant inspection workflow in the fabrication shop
Achieving full compliance with BS EN 1090 requires more than just testing the final product: it demands a traceably documented quality system that tracks the entire manufacturing process. From raw material receipt to final weld inspection, every step must be overseen by qualified personnel holding valid third-party certifications. This structured record-keeping provides building control officers and structural engineers with the legal assurance that the steelwork is fully fit for its intended purpose.
Establishing a standard quality control routine within a busy production facility requires a clear, step-by-step sequence of operations that integrates seamlessly with fabrication schedules. Quality managers rely on a structured, multi-phase workflow to ensure that every structural joint is verified and documented properly:
- Verify welder certifications: ensure that every technician working on the project holds the specific welding qualifications required for the joint design;
- Perform pre-weld fit-up inspection: check the alignment, root gap, and bevel angles of the joint before any weld metal is deposited;
- Monitor interpass temperatures: verify that the heat input remains within specified limits to prevent thermal cracking during multi-pass welding;
- Execute initial visual testing: perform a 100% visual inspection of the completed weld to check for undercut, excess reinforcement, or visible surface pores;
- Apply non-destructive testing: employ the required percentage of magnetic particle and ultrasonic tests based on the project’s execution class;
- Compile the quality dossier: document all test reports, welder qualifications, and material certificates into a final compliance package.
Adhering to this disciplined manufacturing sequence ensures that every steel component manufactured meets the highest quality standards before it is shipped to the job site. This rigorous oversight minimizes the risk of structural failure and protects the long-term safety of the built environment.